
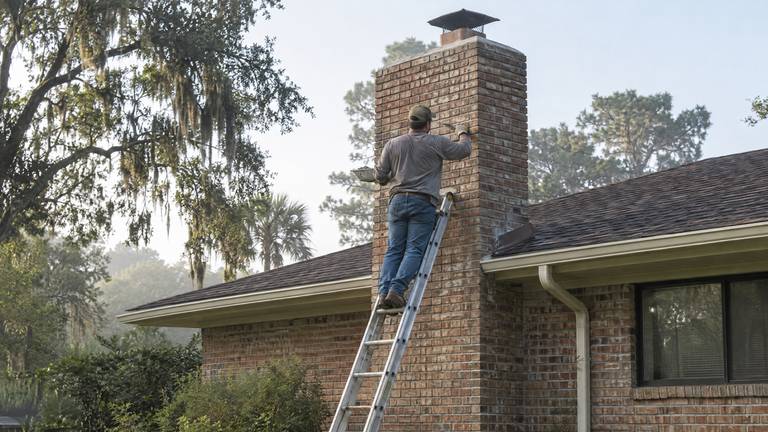
Repair the joints that hold the masonry together
Chimney repointing replaces deteriorated mortar within the joints. It is different from coating the face of the wall or drawing a new line over a failing joint. Loose material needs appropriate removal so the replacement mortar can occupy a prepared space and bond to sound surfaces. The condition of the brick edges affects how that preparation is carried out.
Our chimney mortar repair begins by distinguishing worn joints from cracked or spalled bricks. If the units are damaged, repointing alone leaves the weak material in place. We explain which joints can be repaired and where spalling brick repair is a separate part of the job. Sound surrounding masonry should be retained where it can support the completed repair.
Match the mortar to the existing brickwork
The strongest available mortar is not automatically the right mortar for an older or softer brick. Compatibility involves the retained units and the way the masonry manages moisture and movement. A repair should not solve a joint problem by transferring damaging stress into the brick faces.
Color and texture also matter because a chimney remains visible after the technical work is complete. We discuss practical matching limits before starting. Newly placed mortar can look different as it cures, and weathered work may not match a new mix perfectly. Chimney mortar joint repair should be judged on its preparation and suitability as well as its finished appearance.
Deal with the condition behind repeated deterioration
Mortar that repeatedly fails in the same area calls for a closer look at the surrounding details. A damaged crown, roof junction or other water entry point can continue to wet the repaired area. We identify related defects rather than presenting repointing chimney work as a universal treatment for every leak.
Movement is another reason to pause before filling joints.
A leaning section, displaced units or a widening crack may need structural assessment or rebuilding. Tuckpointing chimney joints does not stabilize a stack that is no longer sound. The recommendation should separate ordinary deterioration from a condition requiring a different repair method.
Plan preparation and protection
Joint work produces debris near the roof and around the base of the chimney. Access and protection are discussed before preparation starts. Tell us about fragile roofing, nearby equipment and areas that must remain clear. Stay away from the area beneath active masonry work, and do not climb up to clear loose material yourself.
The repair plan identifies the extent of the joints being renewed. A partial repair may be appropriate when other joints remain sound, while broader deterioration can justify a larger area. We explain that distinction so a narrow visible repair is not mistaken for repointing every joint on the chimney.
Allow the repair to finish properly
Fresh mortar needs suitable conditions and care during curing. Follow the instructions provided for the actual repair rather than testing or washing the new joints immediately. Any restrictions on fireplace use should be understood before the workday ends.
For an assessment of deteriorated joints, reach our Seminole County team at (645) 465-4122; the inspection is free. We provide an upfront price for the agreed joint work and identify any brick replacement or water-entry repair separately. At completion, we review the repaired area and explain what to watch for if the original symptom returns.
